
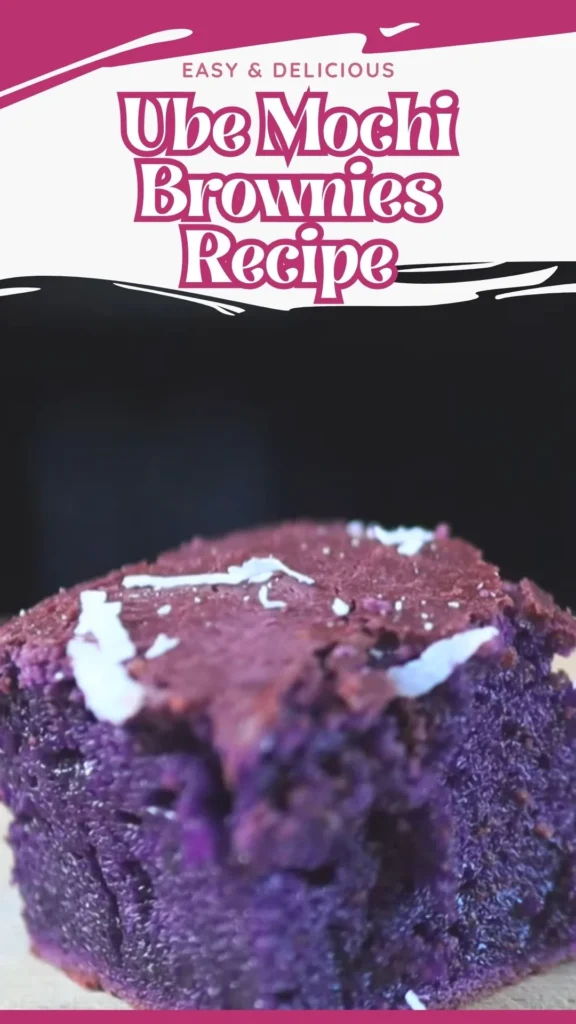
The first time I pulled a pan of Ube Mochi Brownies out of the oven, my kitchen smelled like toasted coconut and something faintly vanilla-sweet, almost like a tropical custard had crossed paths with a brownie.
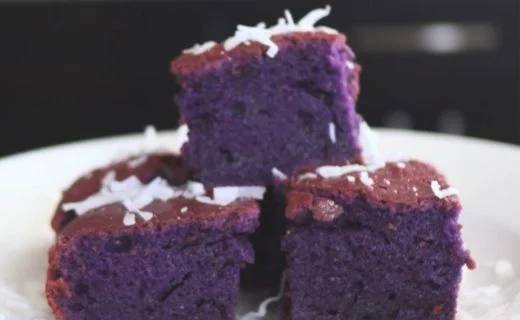
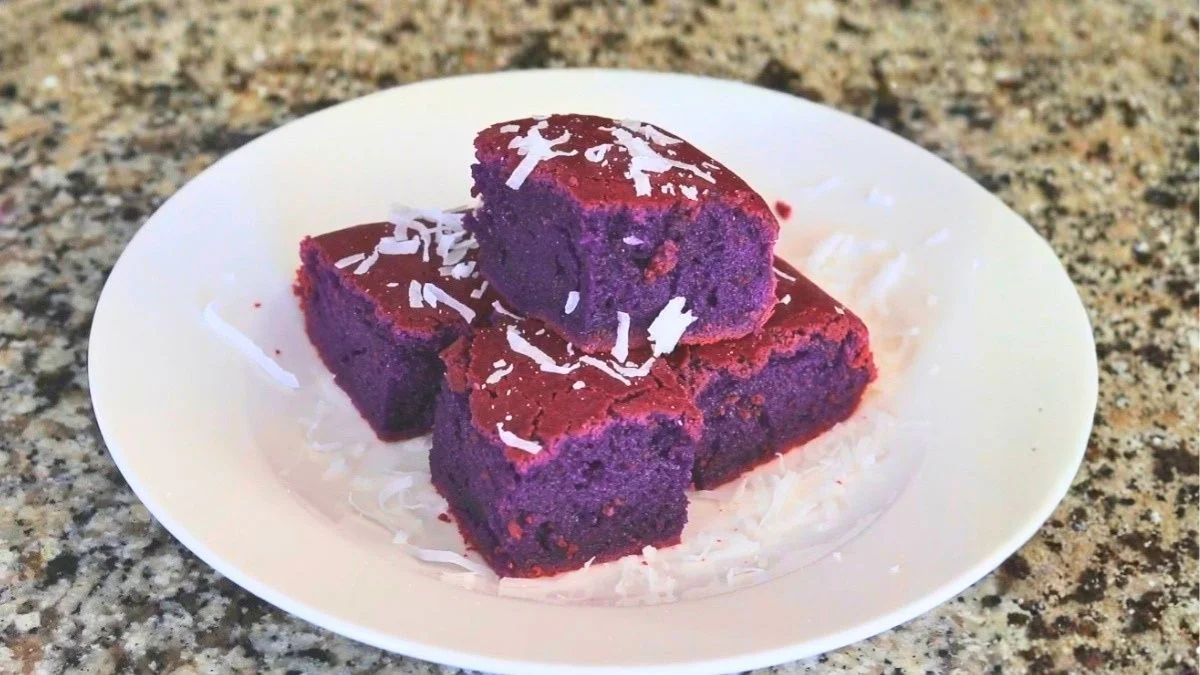
One bite in, and I understood the hype: that signature chew, the soft give of mochi against a fudgy brownie-like bite, and a lavender-purple color that makes people stop scrolling and start asking, “wait, what is that?”
This isn’t your average dessert bar. It’s stretchy, dense, lightly sweet, and impossible to eat just one from my Ube Mochi Brownies Recipe.
Quick note before we dive in: the must-have ingredient here is glutinous rice flour – regular rice flour will not give you that signature mochi pull, so don’t swap it out.
What Are Ube Mochi Brownies and Why Do Fans Love Them?
Ube mochi brownies sit at the delicious intersection of two beloved desserts: Filipino ube treats and Hawaiian-style butter mochi.
The result is a dessert with a chewy, slightly springy interior (thanks to glutinous rice flour) and a flavor that’s nutty, vanilla-like, and subtly sweet – the signature taste of ube, a purple yam used throughout Filipino cooking.
Compared to a classic fudge brownie, this version is denser and stretchier rather than crumbly. Also compared to plain butter mochi, it has way more flavor complexity and that eye-catching violet hue.
Fans love it because it manages to feel both nostalgic and novel – familiar bake-sale energy, but with a texture and color unlike anything else on the dessert table.
It’s naturally gluten-free, easy to make in one bowl, and travels well, which only adds to its growing fanbase at potlucks, parties, and online baking communities.
The Nostalgic History Behind Ube Mochi Brownies
Ube itself has deep roots in Filipino desserts – think ube halaya (purple yam jam), ube ice cream, and ube cake, all treasured at family gatherings for generations.
Butter mochi, meanwhile, comes from Hawaii’s multicultural baking tradition, blending Japanese mochiko (sweet rice flour) with plantation-era ingredients like coconut milk and butter.
Ube mochi brownies are a newer fusion, born from Filipino-American home bakers blending these two nostalgic traditions into one bar.
Unlike newer ube trends – like ube cheesecake or ube crinkle cookies, which lean closer to Western baking techniques – mochi brownies stay true to the chewy, no-flour-needed method that mochiko desserts have used for decades.
It’s less “trendy bakery item” and more an homage to two comfort-food legacies meeting in one pan.
Key Ingredients That Give Ube Mochi Brownies Their Signature Flavor
A few ingredients do all the heavy lifting in this recipe. Ube extract is the star – it delivers that unmistakable purple-vanilla-nutty flavor and the signature lavender color fans recognize instantly.
Glutinous rice flour (also called sweet rice flour or mochiko) is non-negotiable; despite the name, it’s naturally gluten-free, and it’s what creates that stretchy, chewy mochi texture instead of a cakey crumb.
Coconut milk adds richness and a subtle tropical note that pairs naturally with ube, while melted butter brings the fudgy, brownie-like depth that separates this from a plain mochi cake.
Eggs act as the binder, giving structure without making the bars dry. A touch of sugar balances ube’s earthy sweetness, and a pinch of salt keeps everything from tasting flat.
Finally, baking powder gives just enough lift so the bars aren’t overly dense, while toasted coconut flakes on top add crunch and visual contrast to the soft interior.
Ube Mochi Brownies Recipe Ingredients
Here’s everything you’ll need to make this Ube Mochi Brownies Recipe, along with notes on substitutions:
- 5 large eggs
Binds the batter and gives structure. No great egg-free substitute for this texture – flax eggs will work in a pinch but soften the chew. - ½ cup (115g) unsalted butter, melted
Adds richness and a fudgy quality. Swap with melted coconut oil for a dairy-free version. - 1 can (400ml) coconut milk
Adds moisture and a tropical depth that complements ube. Use full-fat for the best texture; light coconut milk will make it less rich. - 1 tbsp ube extract
The key flavor and color source. Ube flavoring can be used instead, but extract typically gives a deeper color and more authentic taste. - 1–2 pinches salt
Balances the sweetness and rounds out flavor. - 2 cups (200g) white sugar
Sweetens the bars. Can reduce to 1½ cups for a less sweet result, or substitute coconut sugar for a deeper caramel note. - 1 lb glutinous rice flour
Creates the signature mochi chew. Must be glutinous/sweet rice flour (like mochiko) – regular or brown rice flour won’t work. - 1 tbsp baking powder
Gives a light lift so the bars aren’t overly dense. - Coconut flakes (optional), to taste
Adds texture and a toasty flavor on top. Sweetened or unsweetened both work.
Tools You Need to Make Ube Mochi Brownies at Home
- Large mixing bowl
- Whisk or hand mixer
- Measuring cups and spoons
- Rubber spatula
- 9×9-inch baking pan
- Parchment paper (or butter, for greasing)
- Oven
- Cooling rack
- Sharp knife, for cutting clean squares
Prep time: 15 minutes
Cook time: 1 hour
Total time: 1 hour 15 minutes
Yield: 9–16 squares, depending on how you slice them
Steps to Make Ube Mochi Brownies
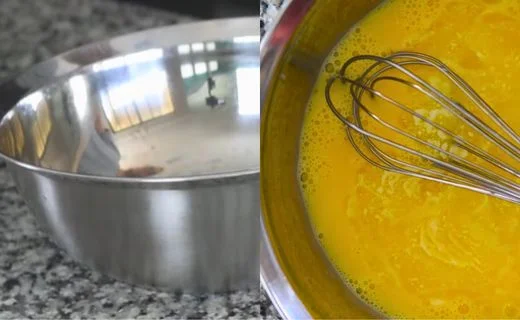
Step 1: Combine Wet Ingredients
In a large mixing bowl, whisk together the 5 eggs, melted butter, coconut milk, and ube extract until fully combined.
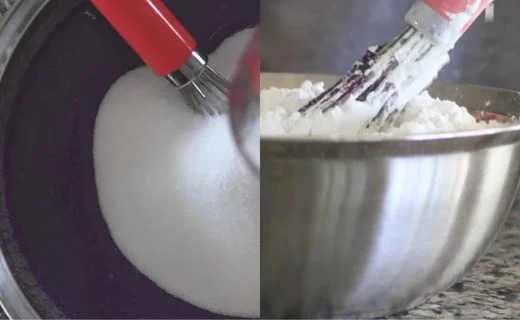
Step 2: Incorporate Dry Ingredients
Add the glutinous rice flour, salt, sugar, and baking powder directly into the wet mixture.
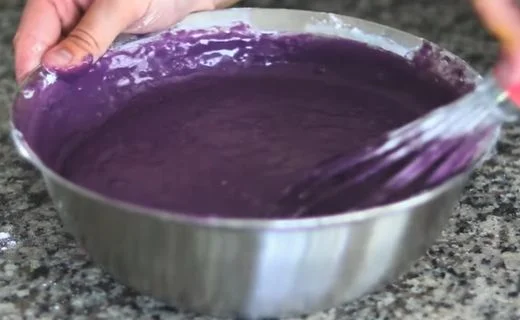
Step 3: Mix the Batter
Stir thoroughly until the batter is smooth and no dry clumps of rice flour remain – this step takes patience, but it’s key to an even texture.
Step 4: Prepare Pan and Pour
Line a 9×9-inch baking pan with parchment paper, or grease it generously with butter, then pour in the batter and spread evenly.

Step 5: Bake to Perfection
Bake at 375°F (190°C) for 1 hour, until the top is set and lightly golden and a toothpick comes out mostly clean with a slightly fudgy texture (that’s normal for mochi brownies).
Step 6: Cool, Garnish, and Serve
Let cool slightly, sprinkle coconut flakes on top, slice into squares, and enjoy.
Pro Tips for Getting Ube Mochi Brownies Flavor Just Right
The single most common mistake is swapping glutinous rice flour for regular rice flour – they are not interchangeable.
Regular rice flour bakes up gritty and crumbly, while glutinous (sweet) rice flour is what creates that signature chewy, stretchy mochi texture. Always double-check the bag says “glutinous” or “sweet rice flour”/mochiko.
Don’t rush the mixing stage. Lumps of rice flour that don’t fully dissolve will create dense, gummy pockets instead of an even chew throughout. Take an extra minute or two to whisk until completely smooth.
Resist the urge to over-bake just because the center looks soft. Mochi brownies are meant to be denser and slightly gooier than a regular brownie – pulling them too late will dry out the edges before the center is even fully done.
For the most vibrant color and flavor, use ube extract rather than ube flavoring if you can find it; extract tends to be more concentrated and less artificial-tasting.
If your only option is flavoring, you can boost both color and depth by stirring in a spoonful of ube halaya (ube jam) along with it.
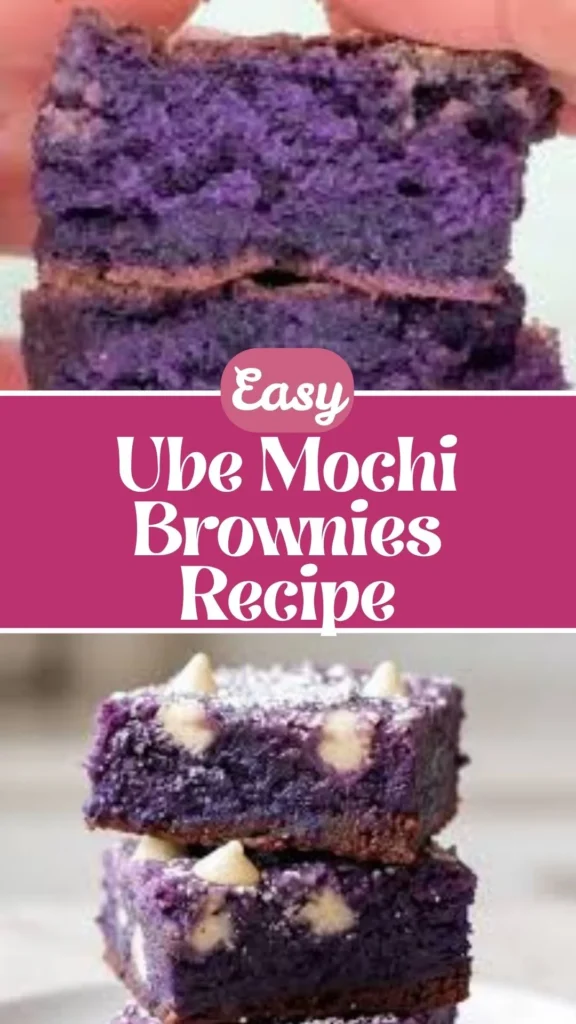
Finally, let the bars cool for at least 15–20 minutes before slicing. Cutting them too soon makes the inside collapse and stick to the knife, instead of holding that clean, chewy square shape.
Easy Variations to Customize Ube Mochi Brownies
Want to make this recipe your own? Try folding in a handful of white chocolate chips for extra sweetness, or swirl in a few spoonfuls of ube halaya before baking for pockets of jammy purple flavor.
Macapuno (sweet shredded coconut strings) stirred into the batter adds a fun chew-on-chew texture that fans of Filipino desserts will recognize instantly.
For a dairy-free version, swap the butter for melted coconut oil – it barely changes the flavor since coconut milk is already in the mix.
You can also bake the batter in a muffin tin for individually portioned mochi brownie bites, perfect for parties or lunchboxes. If you want a deeper purple color, a few drops of purple gel food coloring alongside the ube extract can amplify the visual effect without changing the taste.
Best Ways to Serve Ube Mochi Brownies
Ube mochi brownies are flexible enough to fit almost any occasion.
Serve them slightly warm with a scoop of vanilla ice cream on the side – the contrast between the chewy bar and melting ice cream is a crowd favorite.
Even for a weeknight treat, a dusting of powdered sugar on top instantly makes them feel a little more special without any extra effort.
These bars are a natural fit for potlucks, fiestas, and family gatherings, since they hold their shape well and don’t need refrigeration to taste great.
Cut them into small bite-sized squares for parties or dessert platters, especially if they’re sharing space with other Filipino sweets like ube halaya or biko.
Pair them with a cup of coffee or Filipino kapeng barako for an afternoon snack, or serve alongside fresh fruit like mango or pineapple to balance the dessert’s richness with something bright and juicy.
Because they travel well and don’t get soggy, ube mochi brownies also make a great lunchbox treat or care-package addition. For an extra special presentation, drizzle a thin ube glaze or condensed milk over the top right before serving.
How to Store and Keep Ube Mochi Brownies Fresh
Store ube mochi brownies in an airtight container at room temperature for up to 2–3 days. For longer storage, refrigerate them for up to a week – just note the texture will firm up slightly when chilled.
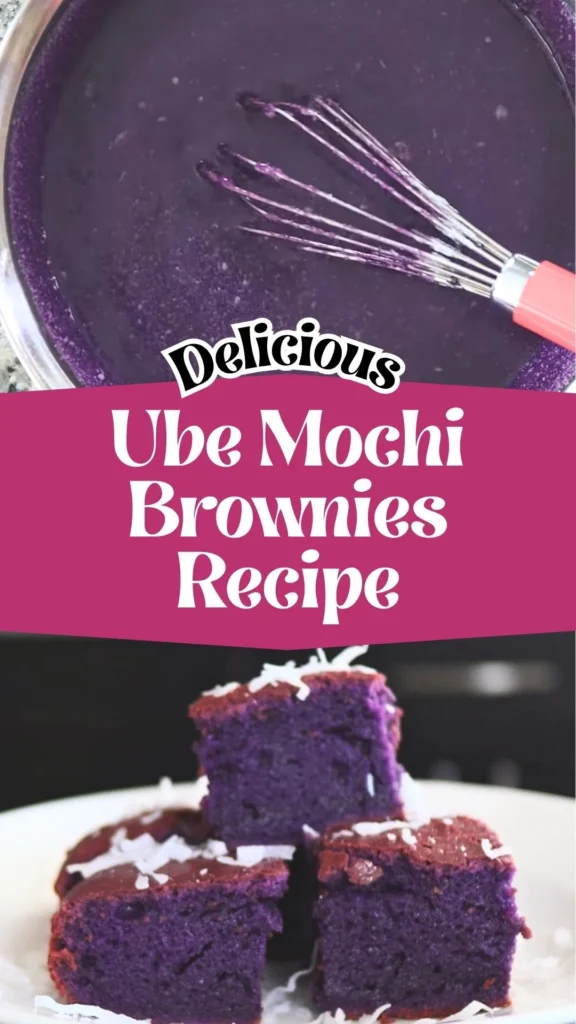
To restore that soft, chewy texture, microwave a square for 10–15 seconds before eating. These bars also freeze well: wrap individual squares tightly and freeze for up to 2 months, then thaw at room temperature or microwave straight from frozen.
Nutrition Facts and Dietary Notes
Based on 16 squares per batch, each serving has roughly 220–250 calories, with the majority coming from sugar and carbohydrates in the rice flour.
Ube mochi brownies are naturally gluten-free, since glutinous rice flour contains no gluten despite its name.
They are not naturally vegan due to the eggs and butter, though a dairy-free version is easy using coconut oil.
They’re also not keto-friendly, given the rice flour and sugar content.
On the upside, ube itself is a source of antioxidants and fiber in its whole form, adding a small nutritional edge over an average dessert.
FAQs About Ube Mochi Brownies
1. What does ube taste like in mochi brownies?
Ube has a mildly sweet, vanilla-like, slightly nutty flavor – not overly distinct on its own, but it pairs beautifully with the richness of butter and coconut milk in this recipe.
2. Can I use ube flavoring instead of ube extract?
Yes, though extract usually gives a more natural taste and deeper color. If using flavoring, consider adding a spoonful of ube halaya for extra depth.
3. Why are my mochi brownies too dense or rubbery?
This is usually from using the wrong rice flour, overbaking, or not mixing the batter smoothly enough to fully hydrate the rice flour.
4. Can I make ube mochi brownies ahead of time?
Absolutely – they store well for days and actually hold their texture nicely, making them a great make-ahead dessert for events.
5. What’s the difference between mochi brownies and regular brownies?
Regular brownies use wheat flour and have a fudgy-to-cakey crumb, while mochi brownies use glutinous rice flour for a chewy, stretchy texture closer to mochi than cake.
Ube Mochi Brownies Recipe
Ingredients
Method
- In a large mixing bowl, whisk together the 5 eggs, melted butter, coconut milk, and ube extract until fully combined.
- Add the glutinous rice flour, salt, sugar, and baking powder directly into the wet mixture.
- Stir thoroughly until the batter is smooth and no dry clumps of rice flour remain — this step takes patience, but it's key to an even texture.
- Line a 9x9-inch baking pan with parchment paper, or grease it generously with butter, then pour in the batter and spread evenly.
- Bake at 375°F (190°C) for 1 hour, until the top is set and lightly golden and a toothpick comes out mostly clean with a slightly fudgy texture (that's normal for mochi brownies).
- Let cool slightly, sprinkle coconut flakes on top, slice into squares, and enjoy.
Video
Notes
And that’s it – a one-bowl, no-fuss recipe that delivers a chewy, vibrant dessert unlike anything else on your baking rotation. If you give these ube mochi brownies a try, I’d love to hear how they turned out – drop a comment below with your results or any fun variations you tried.
Looking for more chewy, nostalgic bakes? Check out our butter mochi and ube crinkle cookies recipes next.
We’d love to hear what you think of this recipe! Give it a try and let us know how it turned out by leaving a comment below. Don’t forget to follow us on Pinterest, Facebook and YouTube for more delicious recipes, cooking inspiration, and kitchen tips. Your feedback and support help us continue creating content you’ll love!
looks delicious
Thanks Karren
I’m so grateful for this recipe, it was incredibly easy
Thanks for your feedback.
Love it. Thanks for sharing this
Thanks for such a tasty dessert
I just tried making it, and it turned out absolutely soft and delicious
I made this for my filipino and nonfilipino friends, and they go mad for these!! Thanks for the recipe!